How to create a simple calculator in WordPress
Integrating a simple calculator in your WordPress blog is fun and easy way to help your users calculating things. On-site calculators allow users to easily do related calculations without even leaving your site. These days, almost everything is AJAX or Javascript based. We will make a simple calculator that will be javascript based and will allow your blog users to make instant calculations.
WordPress Calculator
video tut goes here!!
Installing Calculator Pugin
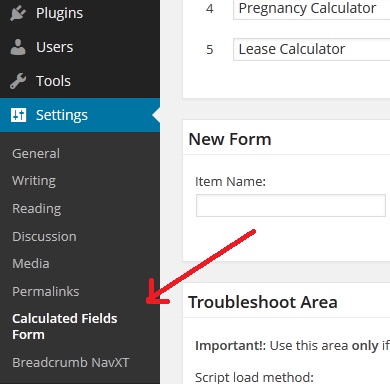
First thing you need is to install WordPress Calculated Fields Form plugin. When installed and activated, this plugin will add link to its settings page in WordPress settings side menu.
Creating your first WordPress Calculator
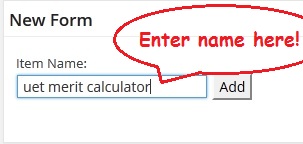
Well going? now most of the default settings will work for us. Next step is to make a calculator of our desire. In this tutorial I will create a merit calculator for a local university. This will have enough flexibility and options for you to learn for your own situation. From the plugin settings page, go to area where it says add new form. Enter your desired calculator name and click add. A new calculator will be added to your forms list. Click on settings button.

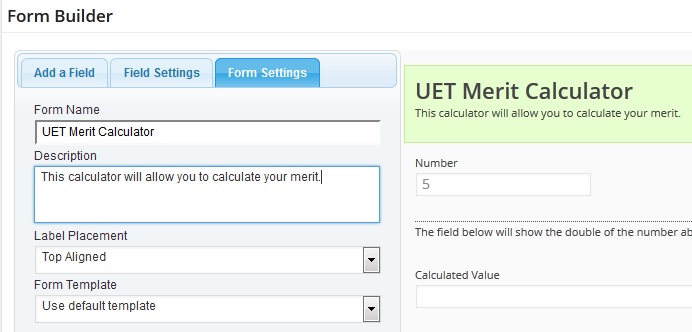
This will open your calculator settings page. Go to Form settings from there and enter your form name and description. As you enter details, you can see changes on the right side.
Go back to Add a field tab. There you can see a lot of variety to add in your calculator like radio buttons, dropdown menus, email, text area etc. You can use them according to your needs. From now on, I will tell you how I created my calculator.
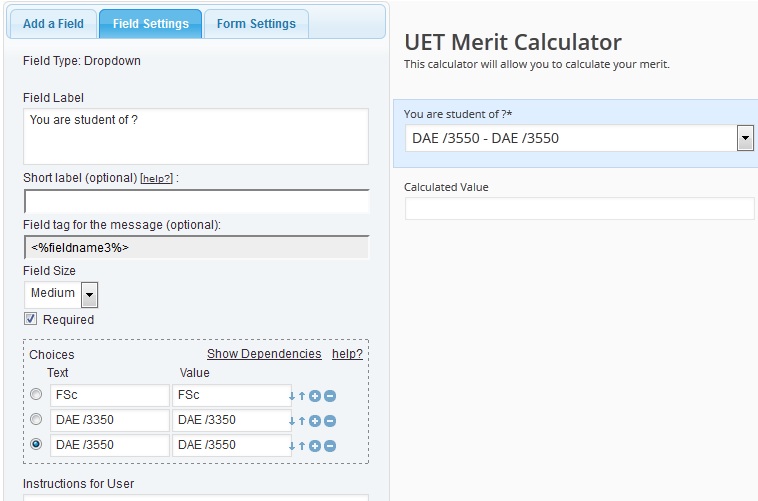
First delete all default fields. You can do this from hovering over a field in right side, a bin icon will appear in lower right corner. Clicking on this icon will delete a field. The first field in my calculator is a Dropdown menu. In calculated fields plugin, dropdown menu will give you option to change you calculator entirely depending upon user choice. Create a Dropdown field and add a desired name in label area.
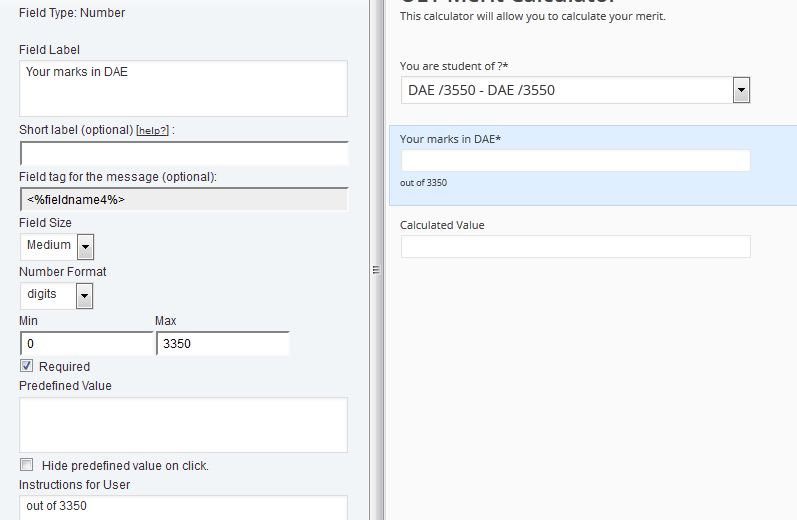
Now add new field called Number. Name it also using field label area. select your field size, select digits from the menu and enter minimum and maximum values. Check the box that names itself “Required?” if this is a necessary field. In instructions for the user, whatever you enter will be shown below the field. This is a good thing, for example I will write total marks for user to know.
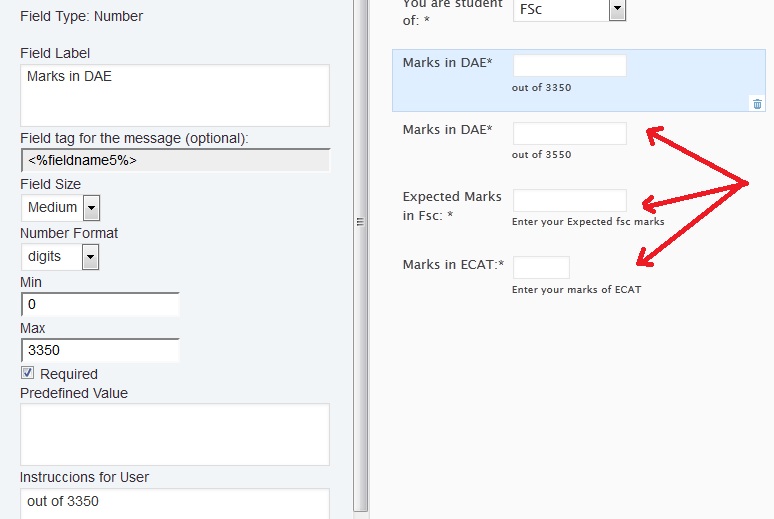
Similarly go back to add new field, and add all fields. Don’t worry if it looks messy. With our dropdown menu, this calculator will only show certain fields based upon dependencies.
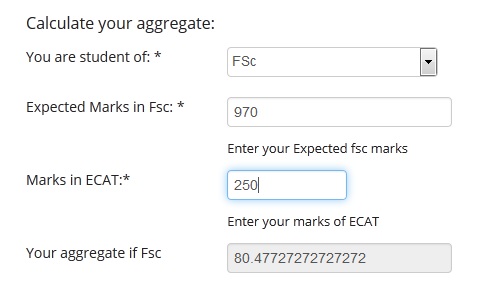
Now the final and important part is to add a calculated field. Go to add a field tab again and click on calculated field. In set equation field, you will enter a formula of calculation. Form merit calculation, the formula was 70% marks of FSc and 30% marks of entry test. So, the formula becomes (you can see field tags and use them in equation. field tag for FSc was “fieldname3” and for entry test was “fieldname4”):
fieldname3*70/1100 + fieldname4*30/400 (total marks of FSc were 1100 and for ECAT they were 400)
In my case I have added 3 calculated fields each having its own equation.

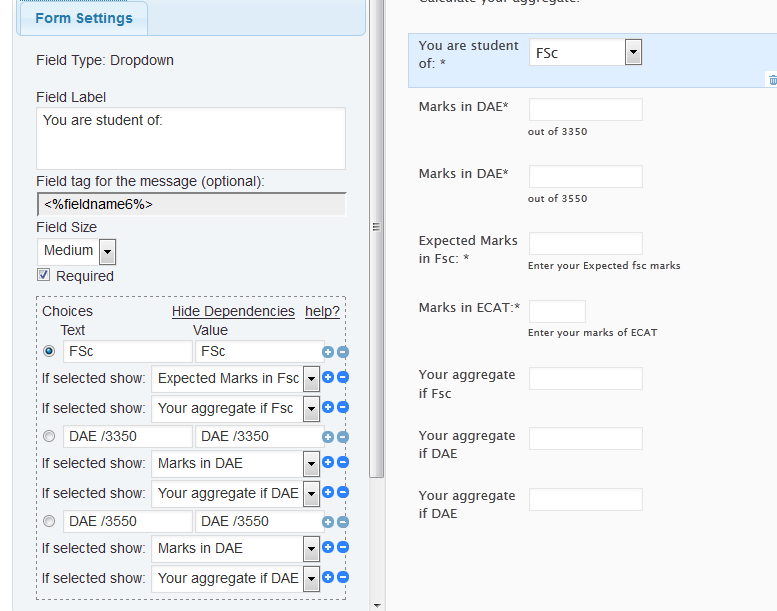
As we have added all the fields now we can set dependencies. Dependencies allow only dependent fields to appear according to selection. Go to the dropdown menu field which we created earlier. Click on show dependencies button. This will show you all fields. Choose your desired fields according to need. The picture below speaks itself.
After setting all this stuff, scroll to the bottom of the page. and Save all changes. Go back to items/forms list, you will see short code of your calculator like this [CP_CALCULATED_FIELD id=”6″ ] . Paste it wherever in your posts you want calculator to show up.
This is all done! You can check out my live calculator here. Hope you enjoyed. Drop comments and spread wisdom (if you are not selfish).
The easiest way to create a calculator for me was using stepFORM. It has a very convenient visual editor, formula editor and a bunch of elements. Calculations can be sent by email and collect data on CRM or send webhooks.